Tuesday, May 17, 2011

Brace yourself pt. 2


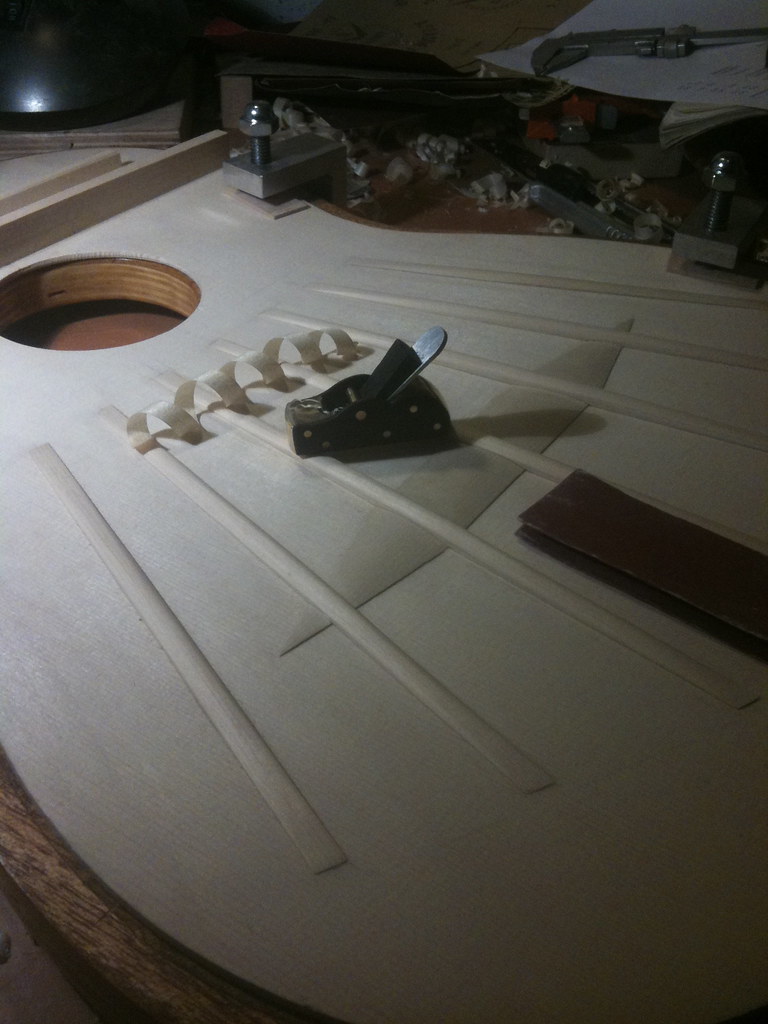
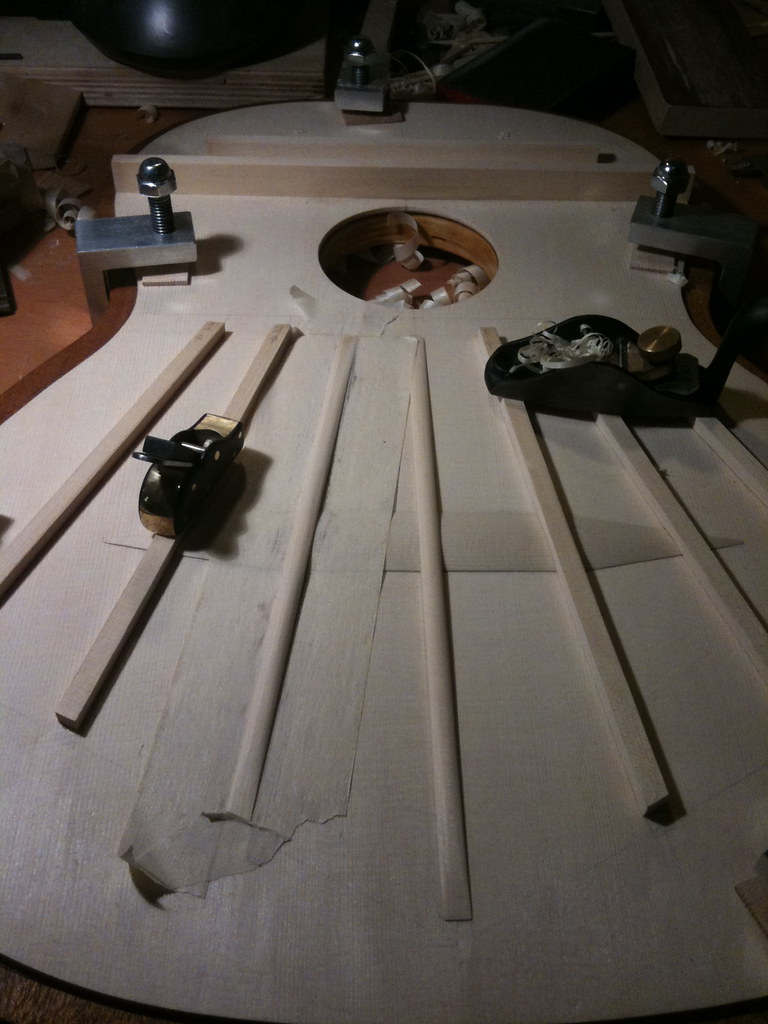
This post will document the completion of the top bracing. Here I am using a finger plane to shape the fan braces one at a time. The plane has been designed specifically for this task (see previous posts for details), to allow it to cut very close to the top. The fan braces have a curved profile from end to end, and a round profile along their width. There is much debate as to which shapes and size give the 'best' sound. The bracing pattern I am using here, is the 'fan' style, common to most traditional instruments. Since I am building this guitar in the style of Hermann Hauser, I am using the pattern from one of his instruments as a reference.

Here are the fan braces after shaping, and a particularly magnificent curled shaving. Final finish was done with sandpaper.

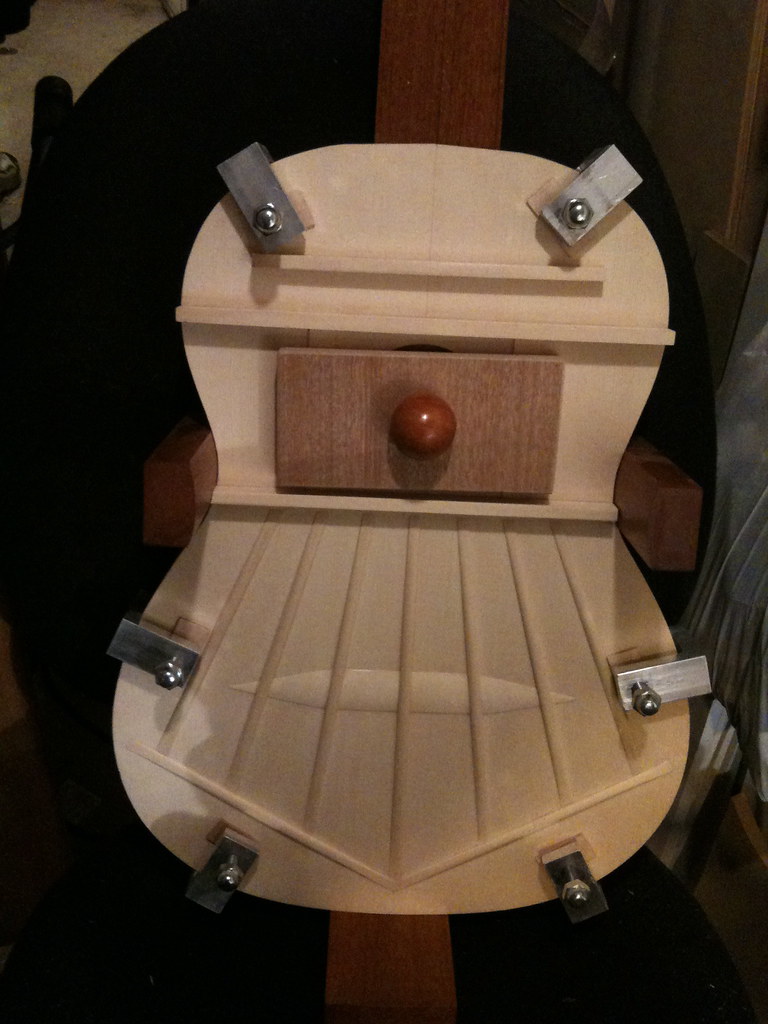
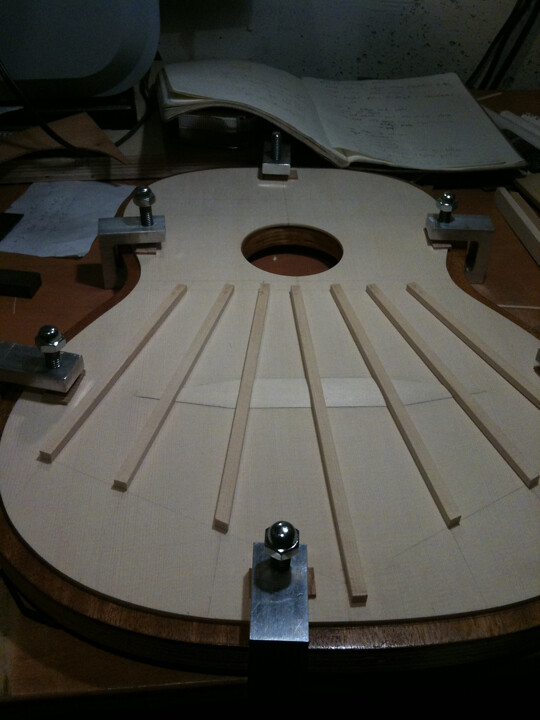
Here is the top fully braced, and held in the building jig/solera. You can see cutoff braces have been added below the fan braces, and three large braces added near the soundhole. These three braces are known as 'harmony bars' and support the top where it is weakest around the soundhole, and also underneath the fingerboard which is susceptible to warping. This area of the guitar does not significantly vibrate, and so does not contribute hugely to the sound of the guitar.


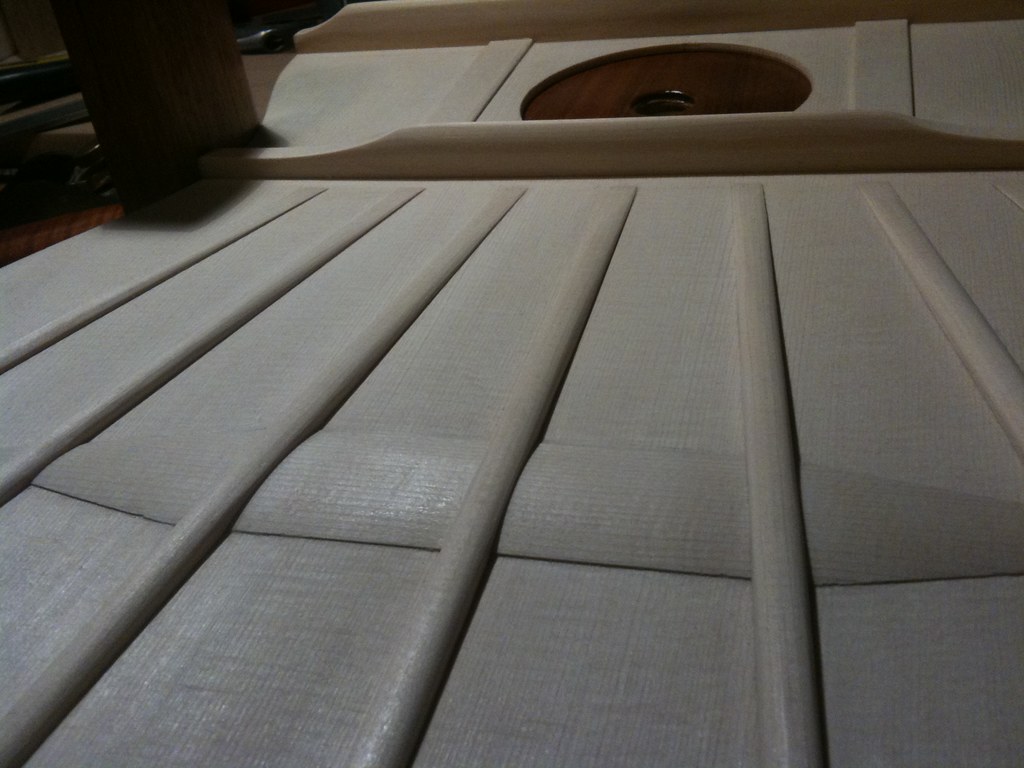
Here you can see the arched profile of the fan braces, and the sound hole reinforcements. I have begun to shape the harmony bars too.


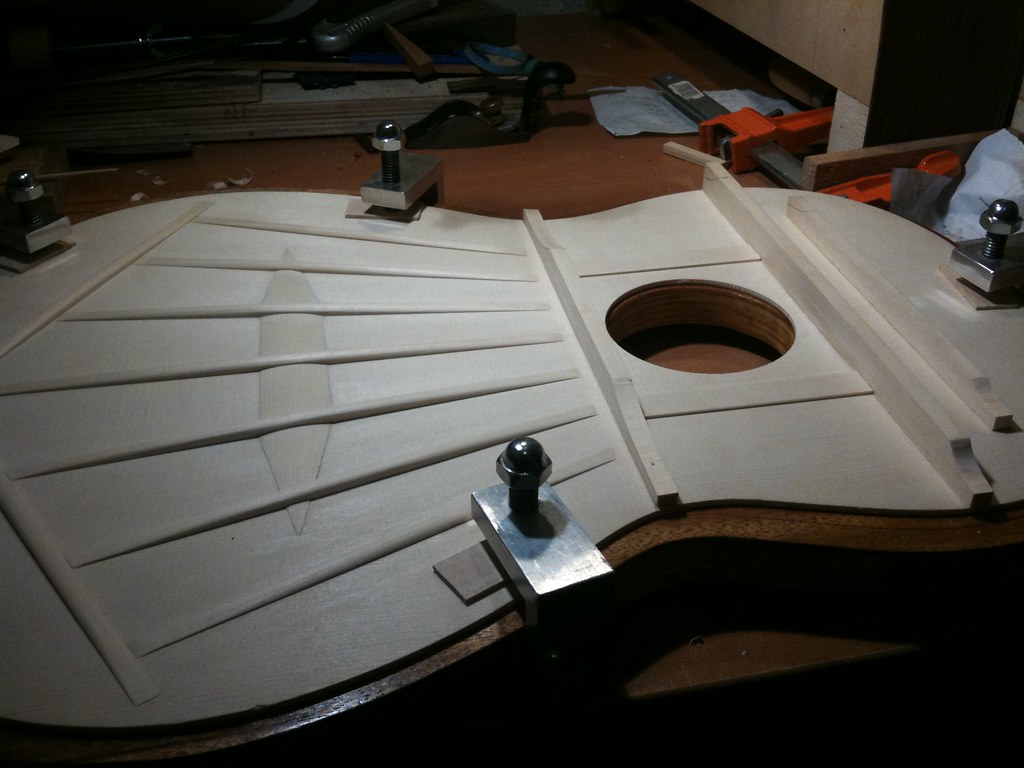
Finally here is all the bracing complete. It's almost a crime how much time I put into fine finishing the part of the guitar that nobody will every see! In the next post I'll be moving on to bending the sides.

Tuesday, May 10, 2011

Brace yourself

I'm back! I'm only updating this because people have been nagging me (You know who you are), otherwise I'd claim to be too busy. Actually this blog has already been a useful record for myself to remember the order of particular steps.

Anyway, here's some pictures, cause that's what you're here for.


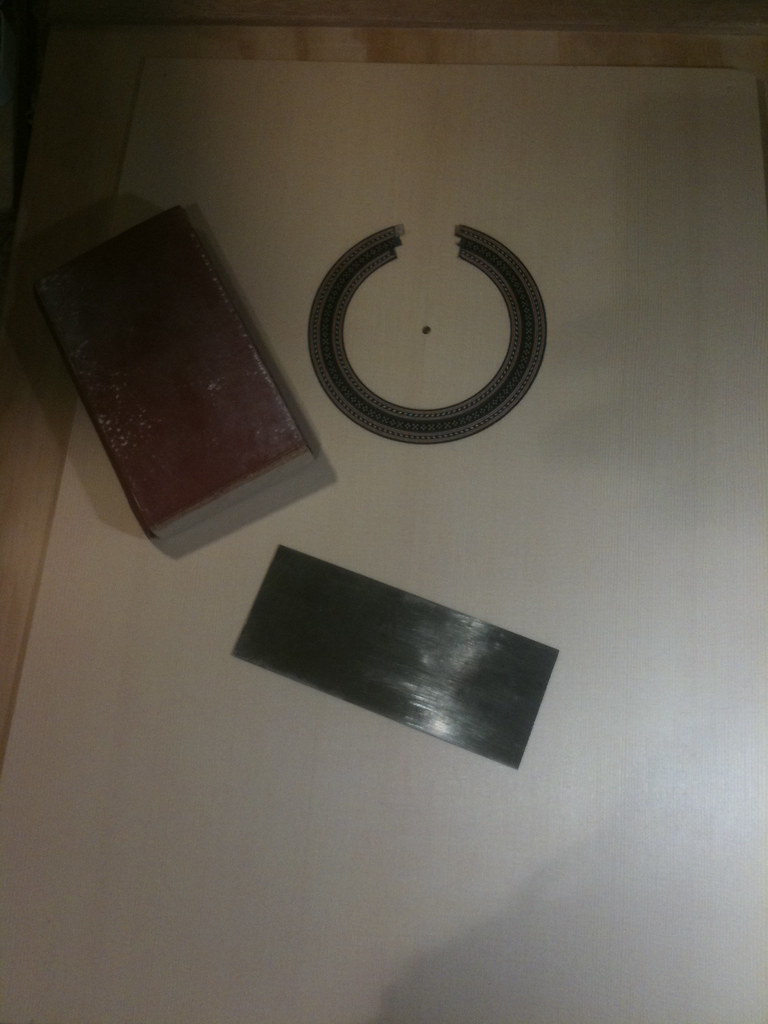
An important part of the process is to make the top plate the correct thickness. The thickness of the top is one of the major factors in determining the sound of the guitar. Here you can see the tools I used after the rosette was installed (some thicknessing with a block plane happened before the rosette step). A scraper is simply a piece of steel sharpened in such a way to allow you to make very fine shavings by scraping. The sanding block is a piece of mahogany lined with cork to provide a flat, but not overly rigid form.


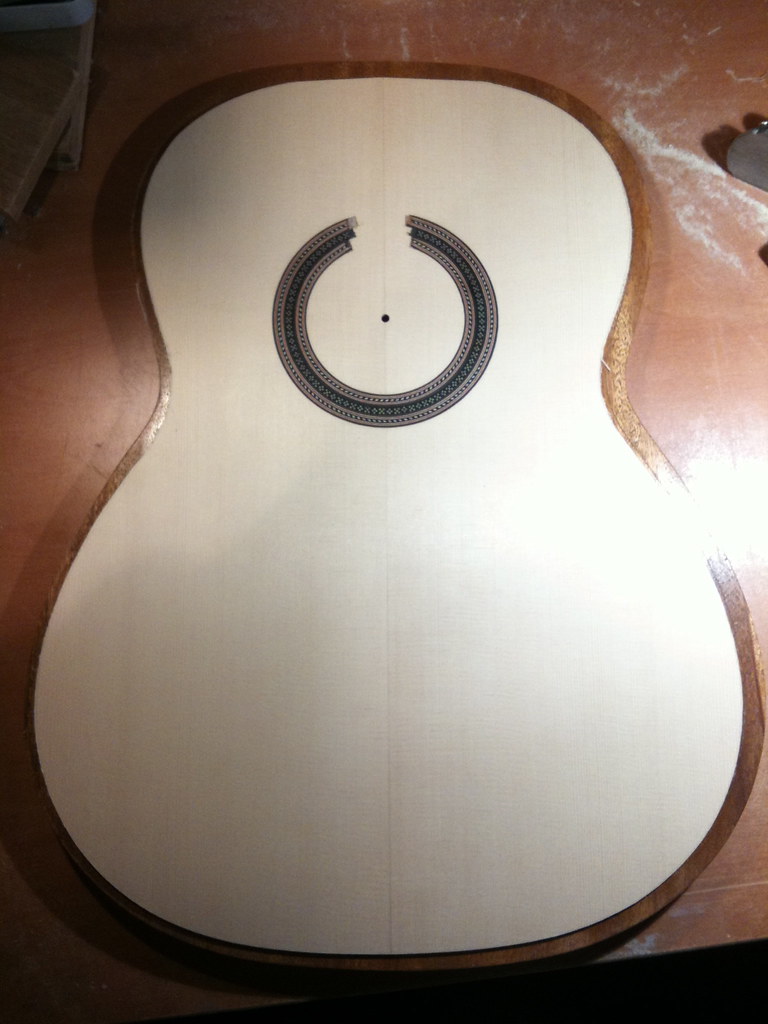
Here you can see the top has been cut out. It's resting on the bracing dish. This jig is carved with a slight dish to allow the top a subtle dome shape when assembled upside-down. 


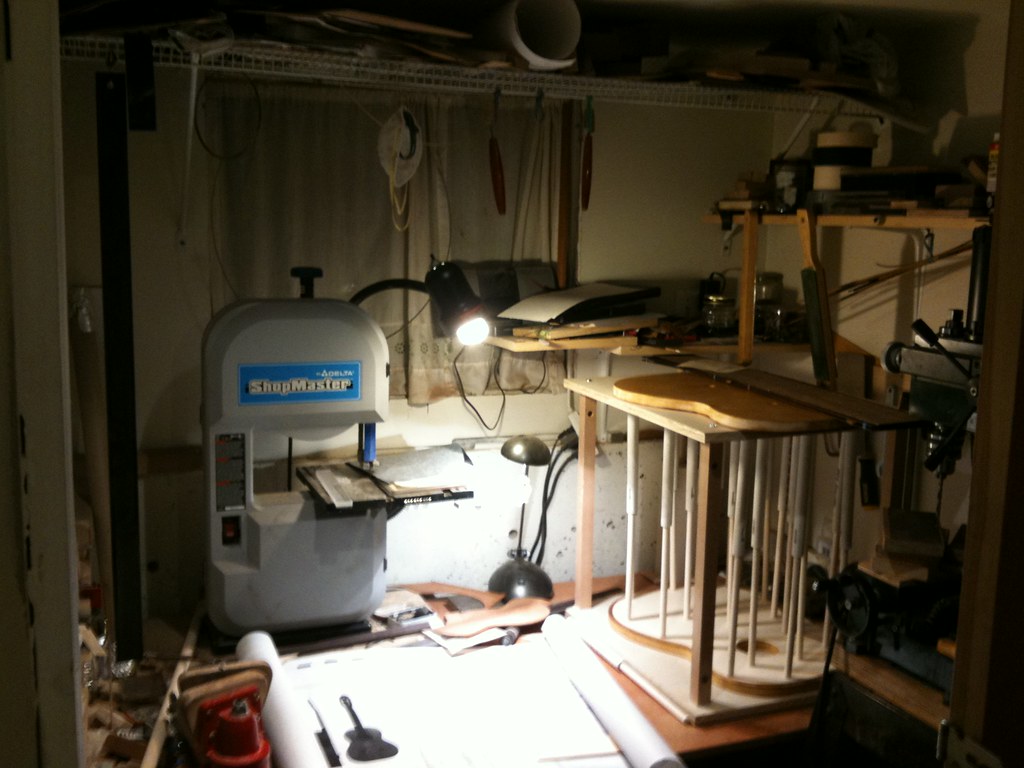
This is my little workshop. It's 165cm x 165cm (about 5 1/2 ft). It's small, but it just about does the job. I've annotated the picture on flickr, so if you like to see what everything is (or look at extra photos), here's a link: http://www.flickr.com/photos/estone/5310699964/in/photostream


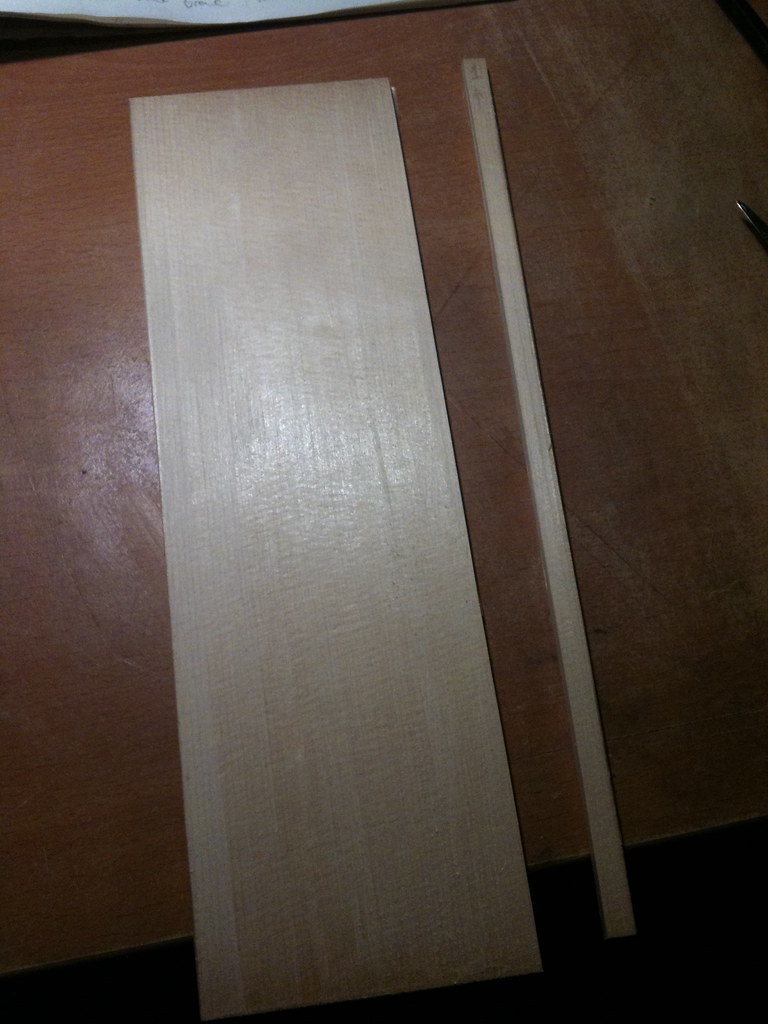
Need up is bracing the top. The braces offer support and rigidity to the top, allowing the top itself to be thinner, which increases volume. These braces are made from European Spruce, like the top. Here you can see the billet for the fan braces. The braces are split/cut exactly along the grain for maximum strength.


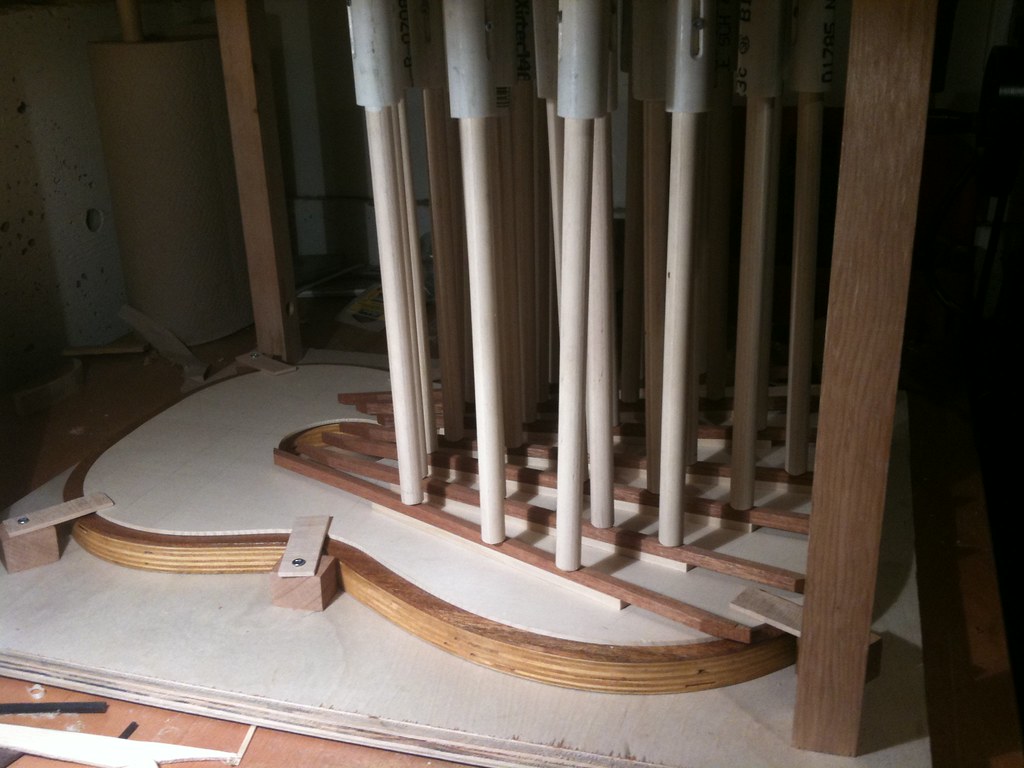
In this photo the braces are all being glued simultaneously using my homemade go-bar deck. The deck itself is two pieces of plywood separated by four legs with latches to hold the bracing dish in place. The go-bars are PVC tubing with a spring and some dowel to provide pressure.


Fan braces! You can also see the bridge patch underneath. The bridge patch provides support to the bridge on the other side of the top. The fan braces had to be exactly shaped to fit over its curved profile. In the next post I'll finish shaping the fan braces, and add the remaining bracing to the top.

Wednesday, January 12, 2011

Rosette

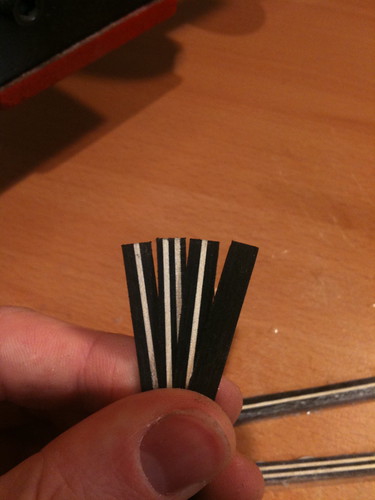
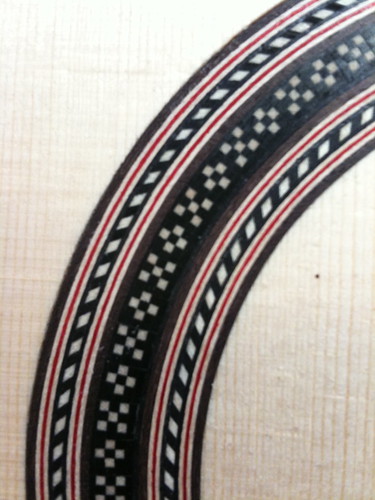
Aside from the herringbone pattern and adjacent veneer pattern, the rosette is also made of a central ring of tiles. The tiles are made from veneer, glued and recut in order to make the pattern. In the first photo you can see the component veneer sandwiches needed to make the + pattern. I glued up three different veneer blocks of five maple and black veneer sheets.

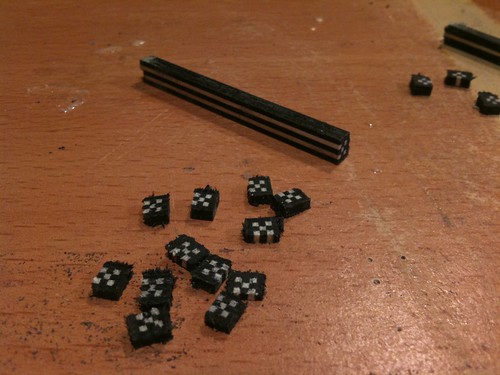
I glued up two different logs with the same veneer sandwiches, but in a different order. This gave me an X pattern and a + pattern. Then I cut the logs into small tiles.
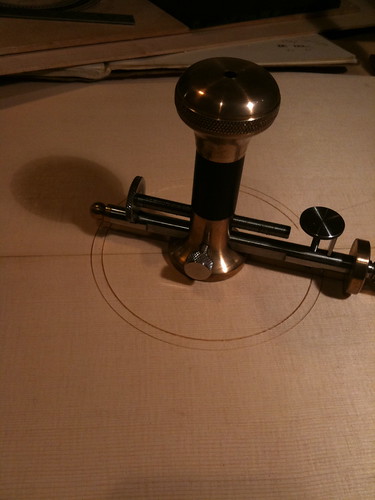
Using a circle cutter tool designed by Geza Burghardt I cut a channel in the soundboard. Before this I had carefully located and drilled a hole at the correct place. The circle cutter allows a precise depth of cut to be made, in this case about 1.5mm.
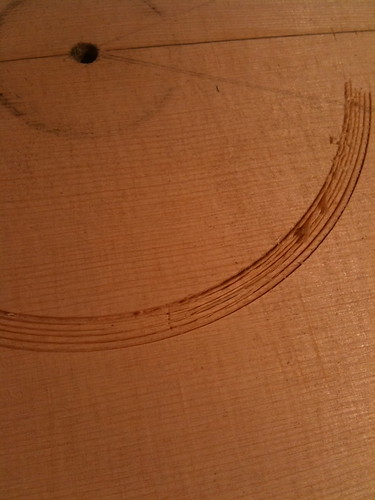
With the outer and inner boundaries cut, a few intermediary cuts allow for easy removal of wood. The channel was cleaned up with a chisel.
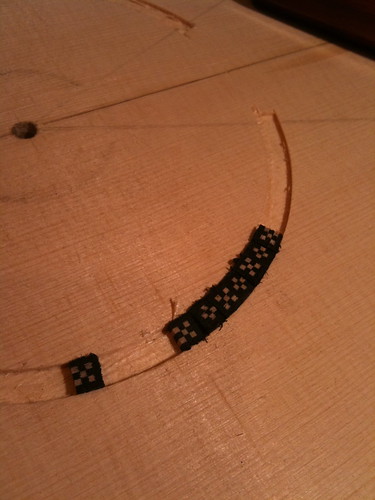
With the channel complete, I test fitted each of the tiles. To make the square tiles fit in a round channel, I gave each a slight taper.
The tiles were glued in place with 2 part epoxy mixed with ebony dust. The ebony dust made it completely black, which hides the small gap between the two tiles. In this photo you can see some of the epoxy on the spruce. Once the tiles had been allowed to cure in place overnight I cleaned up the excess epoxy, and extra height of tile with a small plane.


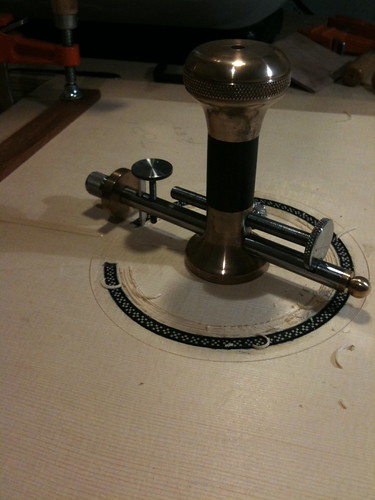
The inner and outer channel for the herringbone bands were then cut with the circle cutter and chisel. Then the herringbone and assorted coloured veneers were bunched together and pushed into the channel. White PVC glue was used to persuade them to stay there.

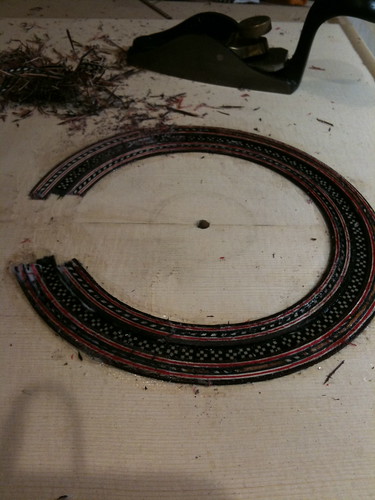
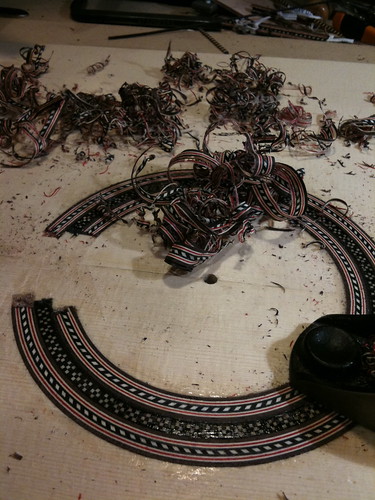
After drying overnight under a nice flat caul the rosette is ready to be revealed. I was so excited to see how it turned out when i started cleaning it up.
The shavings that were created during the cleanup are one of my favourite aspects of the build so far. They're such pretty 'waste'. So that's the rosette. After this I'll be moving on to the other side of the soundboard, and the braces that make it stronger, and dictate the kind of sound that it has.

Friday, December 31, 2010

Half herringbone

That took a bit longer than expected. I've been working busily on the guitar, but I'm a bit behind on the documentation. In this post I'll show how I made one portion of the rosette. The rosette is the decorative circle around the hole in the top of the guitar. As well as its aesthetic function it also helps prevent cracking around the soundhole, which can occur due to the different speeds that sidegrain and endgrain absorb moisture. 
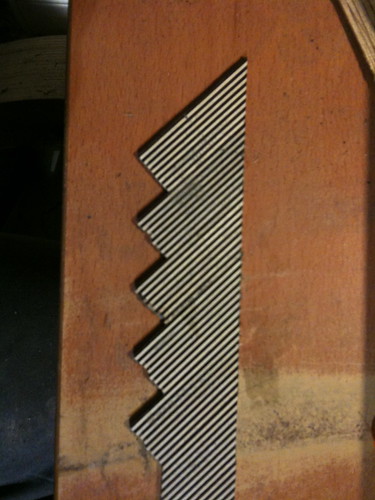
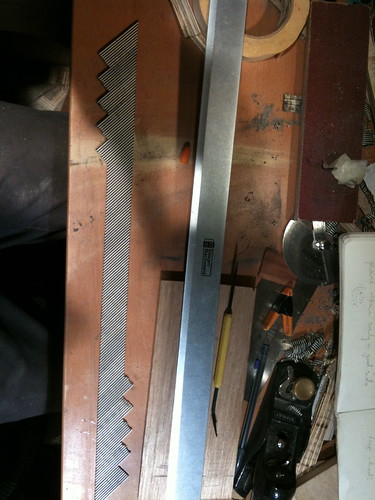
The rosette that I am making will be in the style of Hauser (since I'm making a guitar based on one of his) but it will not be an exact replica of a specific rosette that he built, as far as I know. The rosette is one of the more complicated portions of the guitar for me to build, as I am  building it entirely from scratch. The first thing I did was to glue up alternating black and white veneers into a sandwich. I then sliced that block into several sections and glued them at an angle.


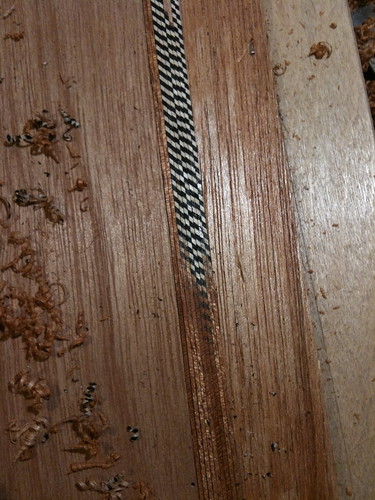
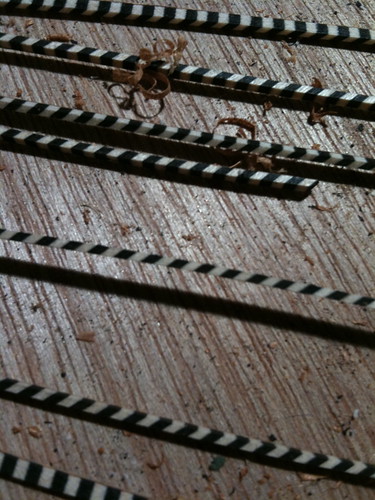
The total length of the strip needed to be quite long in order to completely encircle the outside of the rosette. I then glued this strip between two pieces of mahogany and cut it into 1mm thick strips. The mahogany helped reinforce the fragile herringbone and allowed me to scrape it to thickness. Once all the pieces were the correct thickness, I planed away the mahogany from them all at the same time.

The final result was quite good, although I did have a lot of breakages. I still had enough length on a few pieces to make do. 
I tried a few different combinations of veneers with the half herringbone pattern. Including this one with green.
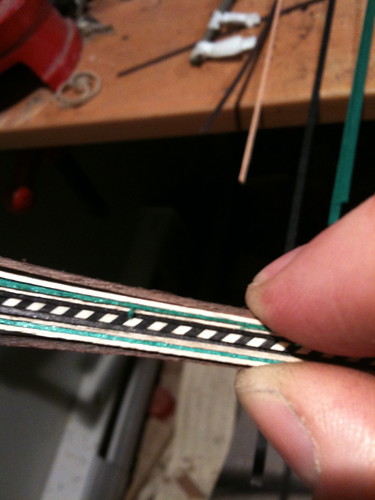
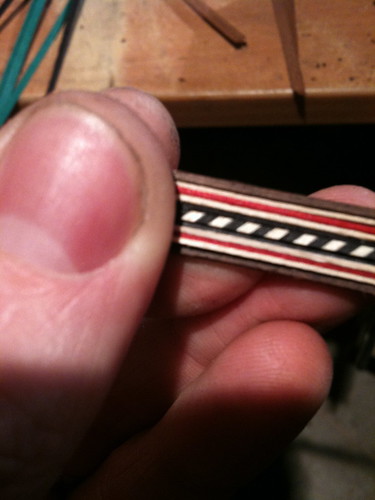
In the end I decided to go with this pattern with a bright red. I'm hoping this will match the red colour in the back and sides that I am using. The white is plain maple, and the outside is rosewood. I've also placed a thin black veneer on either side of the herringbone.


Friday, April 30, 2010

Smoothing Plane

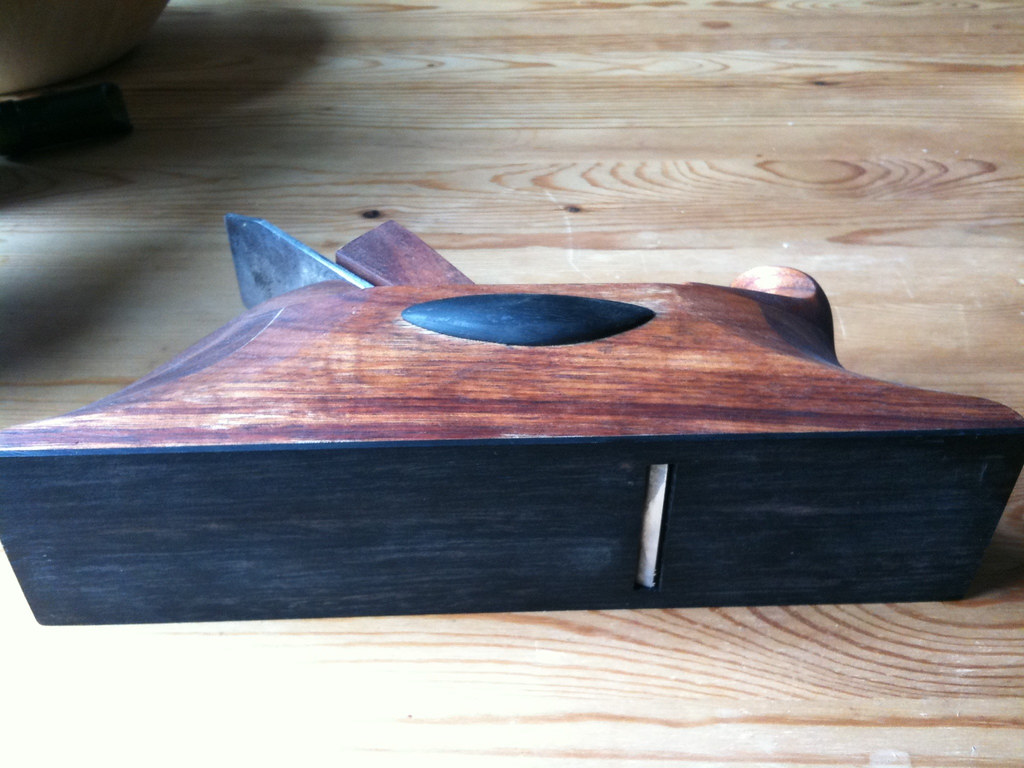
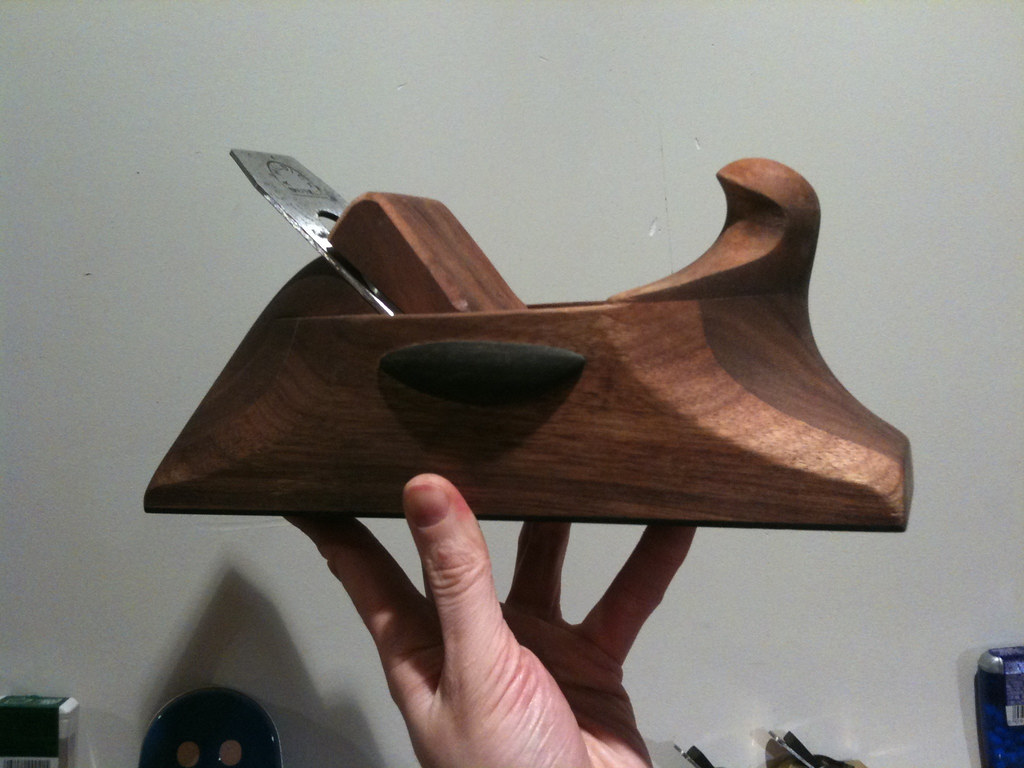
Here are some photos of the construction of a wooden plane I made, based around an antique smoothing blade. The blade was purchased from an antique store in Vancouver for $15 in an old 1900s English wooden plane. The blade which includes a chipbreaker needed some cleaning, but the steel is great quality once sharp. The main weight of the plane came from a piece of walnut.

I bookmatched the walnut for aesthetic reasons, and I was happy I did when I saw the beautiful diamond pattern formed on the back portion of the plane.
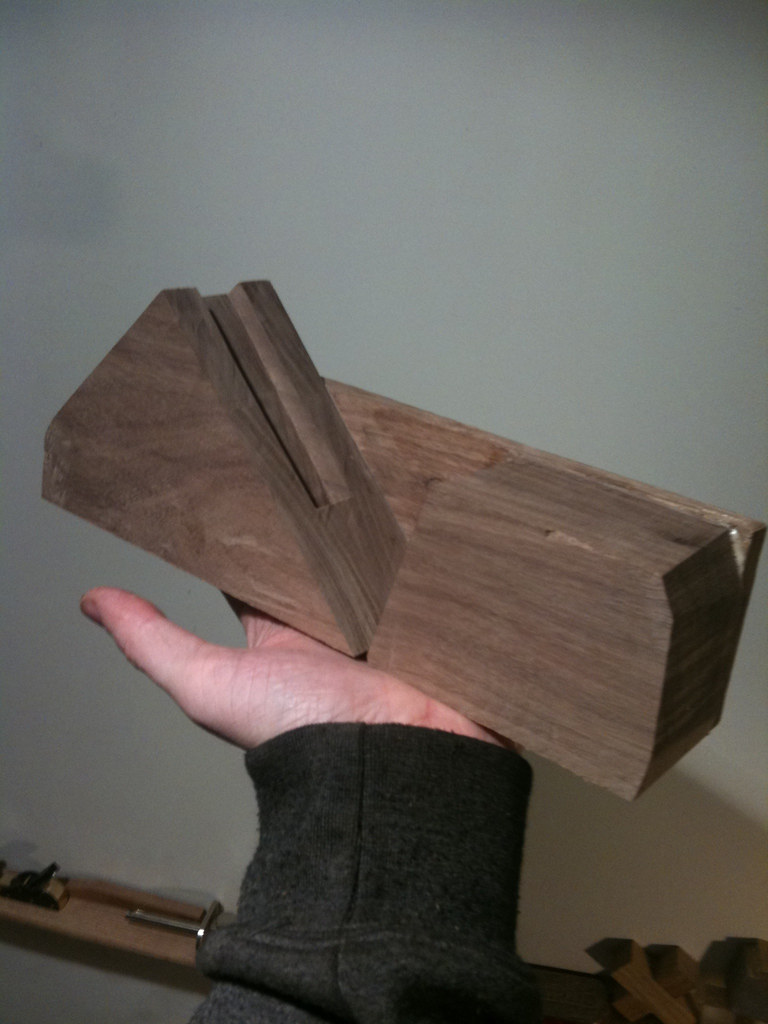
I originally intended to use walnut for the sides, but I found it quite difficult to work with as the grain was moving a lot. In the end I decided to go all out, and used some nice koa for the sides. Here you can see the back and front pieces of the plane glued to one side, with a slot cut for the blade's screw bolt.

With both sides glued in place I added another lump of koa in the front for a handle or 'horn'. You can also see the hole that has been drilled for the horizontal steel rod. The rod holds the wedge in place, and the wedge holds the blade down. I also made the wedge out of koa.


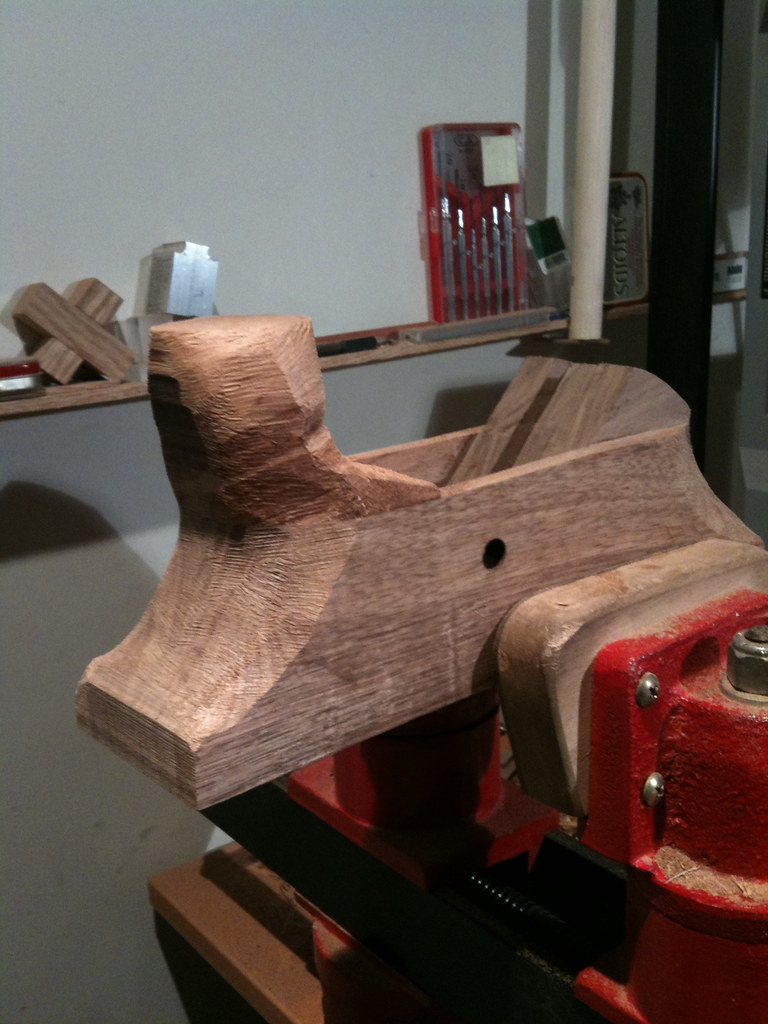
Here is the initial carving of the shape. I used a rasp for nearly all of the carving, and it was very time consuming to remove so much wood by hand. It was quite enjoyable though and I am very happy with the final result.
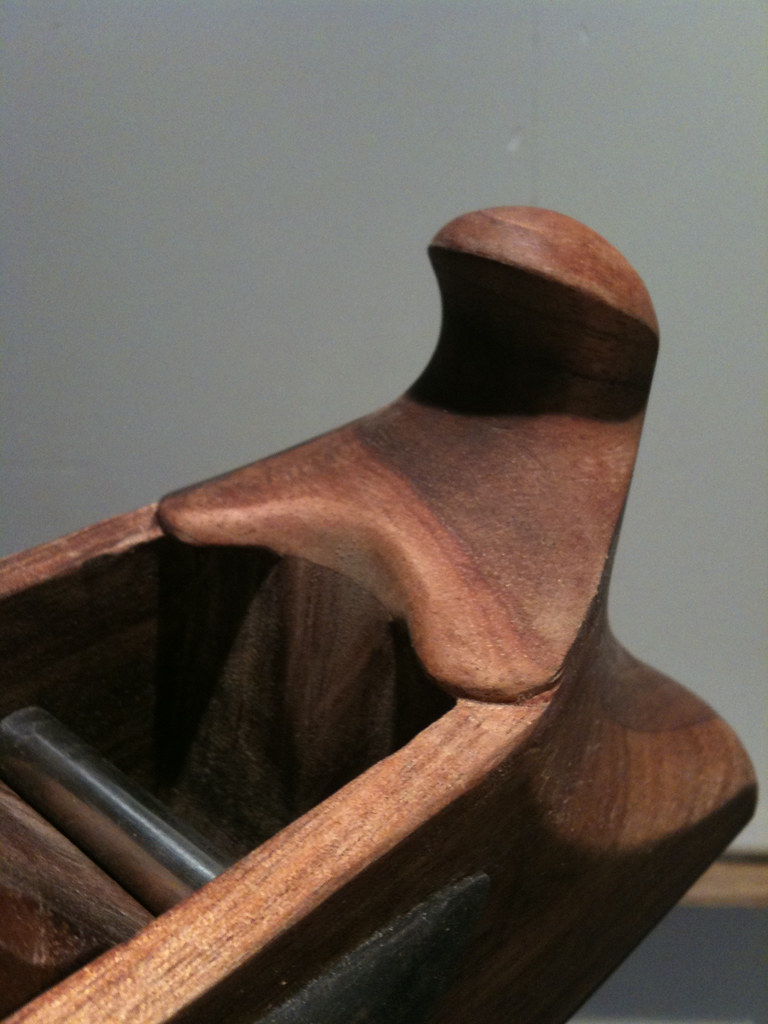
Here is the plane shaped, with ebony reinforcements on the sides and temporarily finished with lemon oil. Once I learn how I will french polish it instead. The handle at the front, and the heel are both very comfortable in the hands (they should be, since I made them to fit my hands!), and I can't wait to use this plane for some serious work.
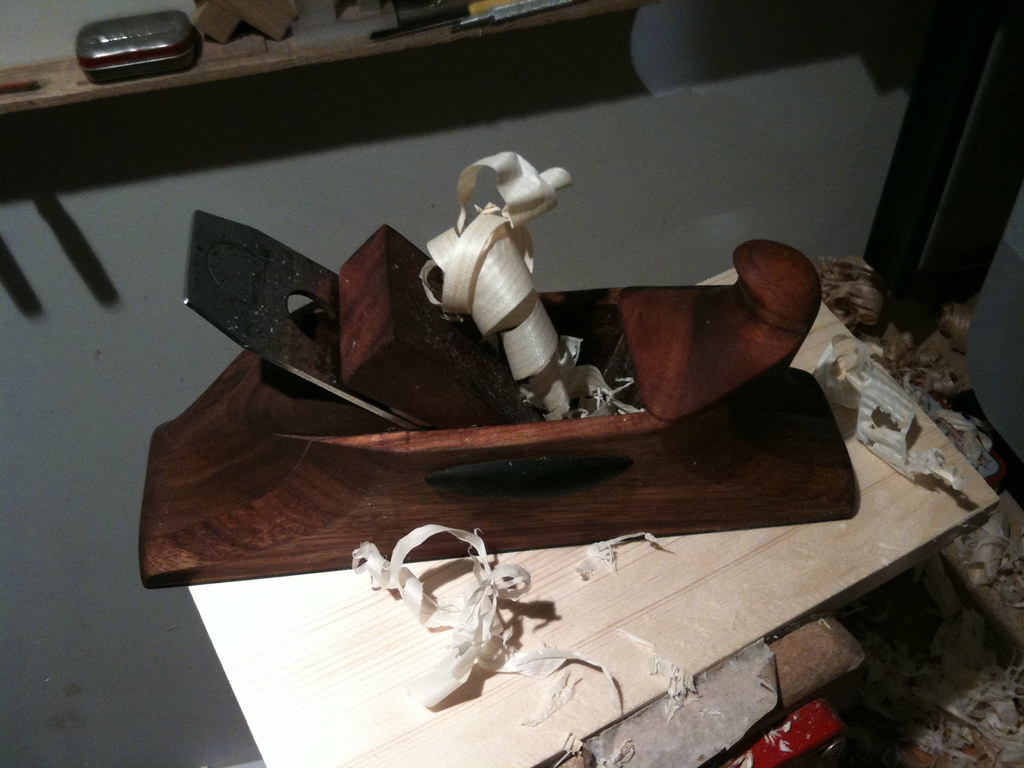
Here is the plane doing some test cuts of some scrap pine. The blade needs a little more work to make it super fine, but I was still able to make some very thin shavings.

Here you can see the ebony base. I decided to use ebony here to match the side reinforcements, but more importantly because ebony is so hard and long lasting it makes a perfect surface for a plane that will be used a lot. The base was flattened on a large sanding block. 


After some use I realised the design of the handle, with an overhanging lip was making hard for the shavings and chips to escape. I made a slight modification to the shape of the throat to improve this.
That's all I have to show for now, and there won't be any more updates for a while as I'm going traveling and won't be near my workshop.

Work on the guitar (and the random things I'm making to make it) will resume after the summer!

Monday, March 29, 2010

Miniature planes

Here I'm going to show you two small planes that I made recently. I used Geza Burghardt's design, with his permission and guidance.

The first step was to cut some square brass bar stock. It is about 1cm thick and 2cm tall. I cut it into 5cm segments and then into the shape in the picture. The piece on the left is the 45 degree angle needed for the blade to rest on.
Here are most of the ingredients needed for a single plane. Two rosewood sides, a blade (which I purchased from Dick Tools) and some brass. The only thing missing is the brass rod used to hold the blade in place with a wedge, and also as reinforcement.

I was delighted to discover when working with rosewood for the first time that it smells like roses when cut.
I used epoxy to glue the wood to the brass, scratching both surfaces first to ensure a good bond. I scalloped out the smaller piece of brass to help clear the chips and shavings during use.

In the photo I am outside my house because epoxy is smelly stuff, and goes straight to your head without ventilation.

Once both pieces of brass were glued to a single side, I drilled a hole for the main brass pin. I then glued the other side on, and used the drill press to make a matching hole. The brass rod was super/krazy glued into place.

After that the basic shape was given to the plane using a file. Brass is quite soft and is pretty easy to work with using a file.

In this photograph is a calipers to show scale. The full length of the plane is less than 5cm.

After that I glued in five reinforcement rods using super/krazy glue. And then did some shaping on the sides. The first ebony wedge I made was too thin so I eventually replaced it.

Here are the two final planes completed. They have new wedges which are a bit thicker and easier to hit with a mallet. The brass and the wood have both been polished up to a high gloss on a buffing wheel.

The plane on the left has a curved bottom and is used (as shown previously) in the construction of the heel. It can also be used to scallop the braces of a steel string guitar. The other plane is identical except that it has a flat bottom.

I hope to use these finger planes for lots of different tasks.

Monday, March 22, 2010

The heel part one

This post will document the construction of the heel. The heel joins the neck to the body of the guitar, and in a classical guitar holds the sides in place. In this photo I am gluing a block of mahogany to the neck. This join needed to be very precise as the glue line will be very visible once the  heel has been carved.
Here is the neck held captive by a jig I used to cut the slots for the sides. The jig is of Geza Burghardt's design and it was one of the first things I made when I embarked on this project. As a novice woodworker it was quite tricky to construct. I think it would probably go a bit smoother if I was to try again now. The heel sticks out the back of the jig, as can be seen in the next picture. The bottom of the jig is not flat, but angled at the correct angle that the slots need to be cut at to ensure they meet the neck in a nice arc.

Here I am demonstrating how the slots are cut. The saw is made from a piece of maple and a japanese dozuki saw blade. In this photo the jig has been fitted with an extension plate in order to cut the second side of the slots (which will be hidden inside the guitar).
Using one of my trusty English chisels I cleaned out the slots. The heel has also been cut roughly on a bandsaw, with a curve on the outside, and an 'L' shape on the inside. The 'L' is tapered to the slope of the back of the guitar, and will be eventually glued to the back.
The curve of the heel was cut flat by chisel and then shaped to the correct profile using a finger plane. The bottom of this plane is curved to allow concave cuts to be made in the wood. The plane in the photo is one of Geza's, but I've since made two of my own, which I hope to show in the next post.