I'm back! I'm only updating this because people have been nagging me (You know who you are), otherwise I'd claim to be too busy. Actually this blog has already been a useful record for myself to remember the order of particular steps.
Anyway, here's some pictures, cause that's what you're here for.
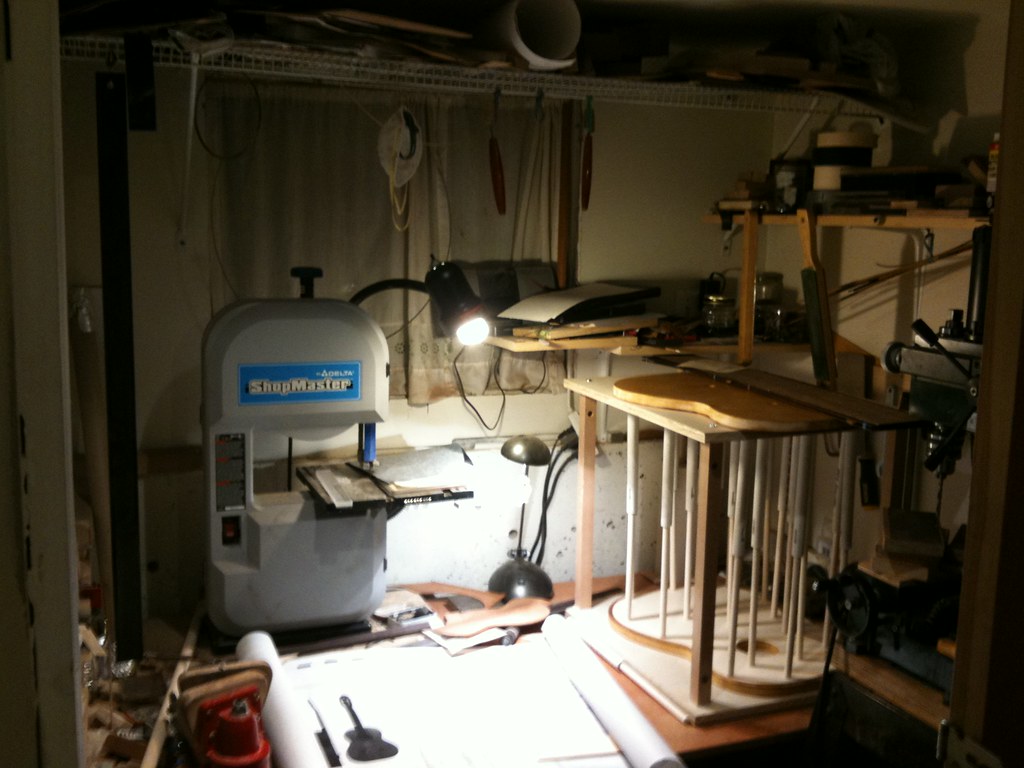
This is my little workshop. It's 165cm x 165cm (about 5 1/2 ft). It's small, but it just about does the job. I've annotated the picture on flickr, so if you like to see what everything is (or look at extra photos), here's a link: http://www.flickr.com/photos/estone/5310699964/in/photostream
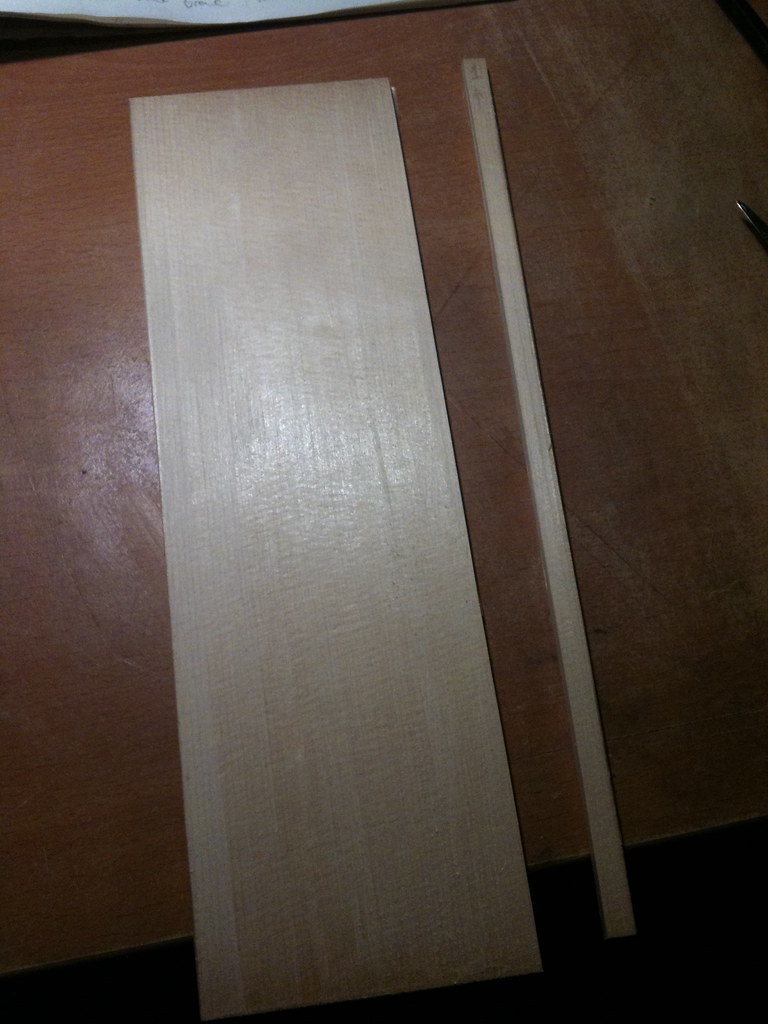
Need up is bracing the top. The braces offer support and rigidity to the top, allowing the top itself to be thinner, which increases volume. These braces are made from European Spruce, like the top. Here you can see the billet for the fan braces. The braces are split/cut exactly along the grain for maximum strength.
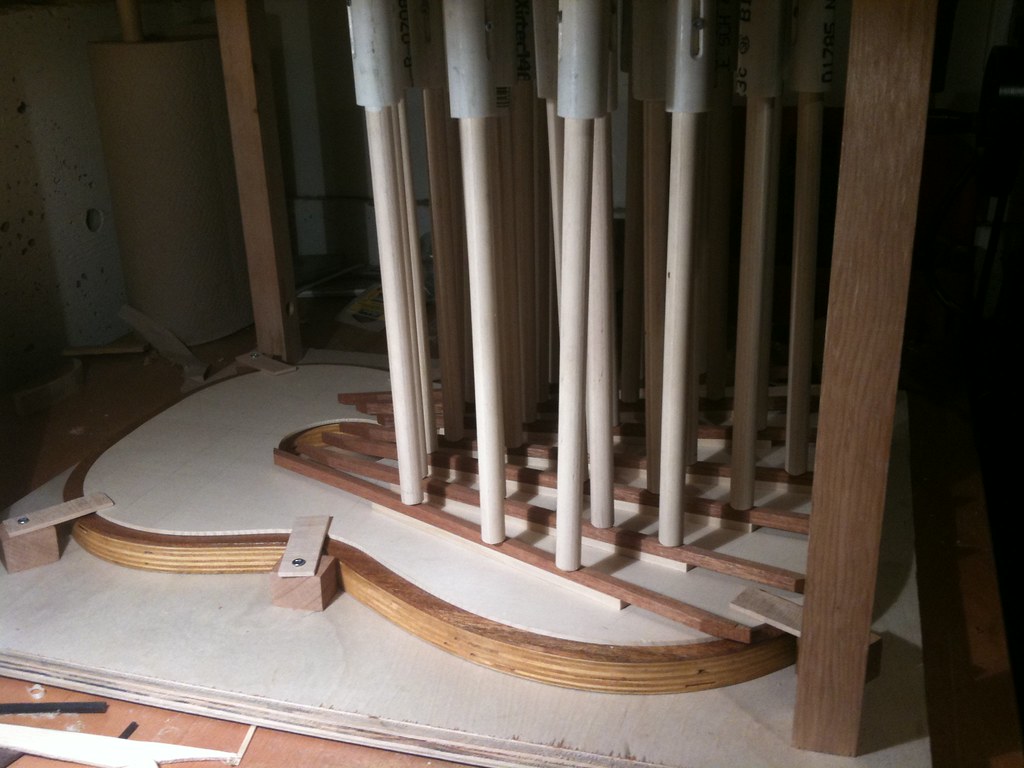
In this photo the braces are all being glued simultaneously using my homemade go-bar deck. The deck itself is two pieces of plywood separated by four legs with latches to hold the bracing dish in place. The go-bars are PVC tubing with a spring and some dowel to provide pressure.
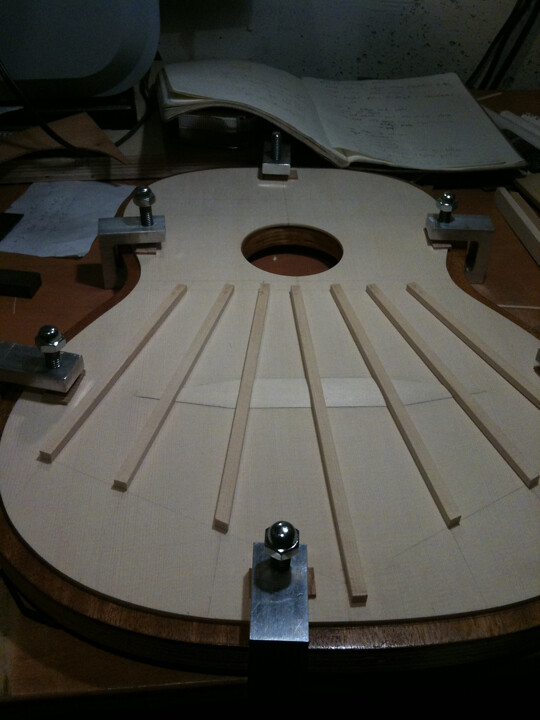
Fan braces! You can also see the bridge patch underneath. The bridge patch provides support to the bridge on the other side of the top. The fan braces had to be exactly shaped to fit over its curved profile. In the next post I'll finish shaping the fan braces, and add the remaining bracing to the top.
Anyway, here's some pictures, cause that's what you're here for.
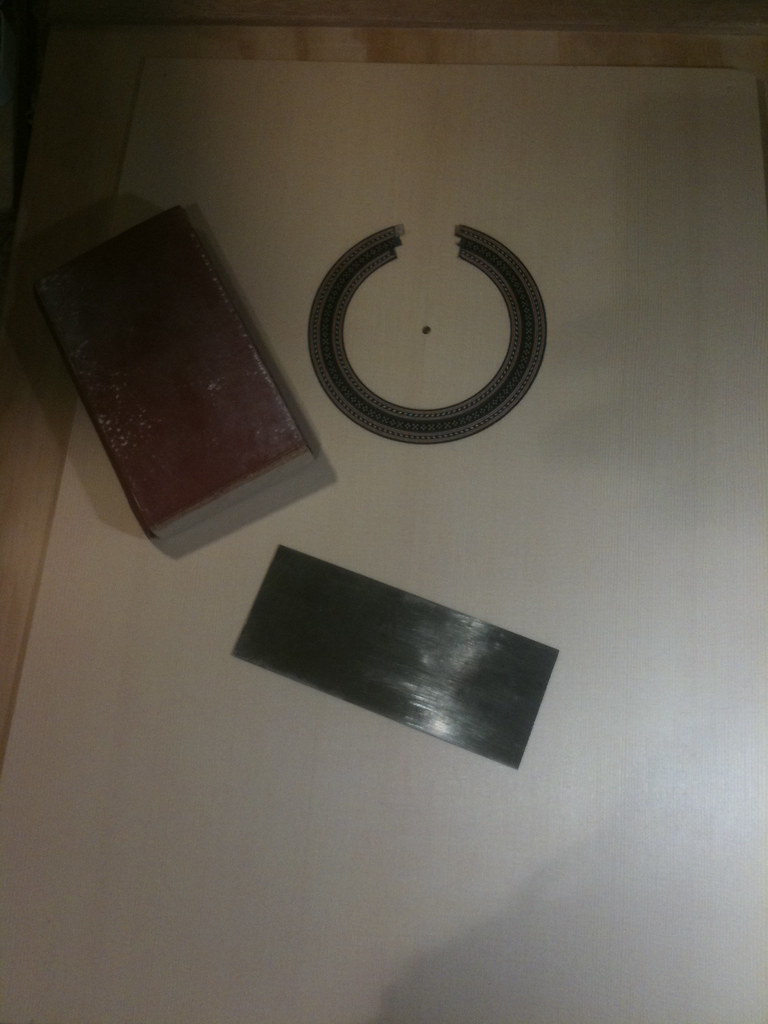
An important part of the process is to make the top plate the correct thickness. The thickness of the top is one of the major factors in determining the sound of the guitar. Here you can see the tools I used after the rosette was installed (some thicknessing with a block plane happened before the rosette step). A scraper is simply a piece of steel sharpened in such a way to allow you to make very fine shavings by scraping. The sanding block is a piece of mahogany lined with cork to provide a flat, but not overly rigid form.
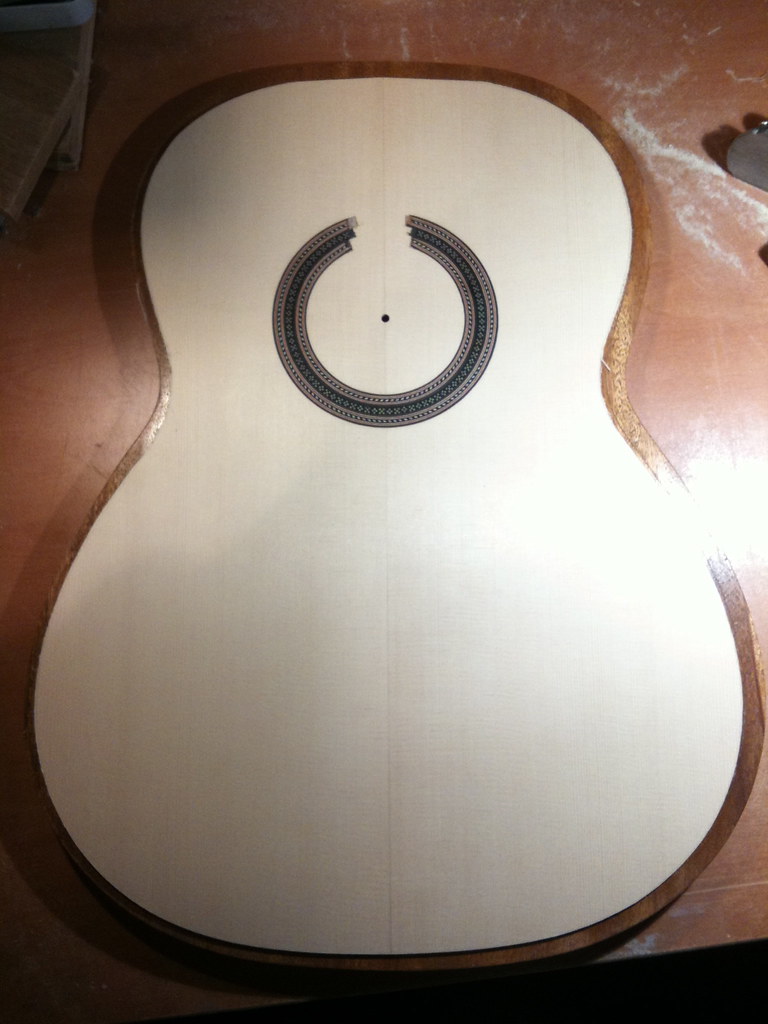
Here you can see the top has been cut out. It's resting on the bracing dish. This jig is carved with a slight dish to allow the top a subtle dome shape when assembled upside-down.
Need up is bracing the top. The braces offer support and rigidity to the top, allowing the top itself to be thinner, which increases volume. These braces are made from European Spruce, like the top. Here you can see the billet for the fan braces. The braces are split/cut exactly along the grain for maximum strength.
In this photo the braces are all being glued simultaneously using my homemade go-bar deck. The deck itself is two pieces of plywood separated by four legs with latches to hold the bracing dish in place. The go-bars are PVC tubing with a spring and some dowel to provide pressure.
Fan braces! You can also see the bridge patch underneath. The bridge patch provides support to the bridge on the other side of the top. The fan braces had to be exactly shaped to fit over its curved profile. In the next post I'll finish shaping the fan braces, and add the remaining bracing to the top.
No comments:
Post a Comment