Wednesday, November 30, 2011

Assembling the body

After working for such a long time on various components, it's amazing how quickly the guitar becomes something undeniably guitar shaped. In this post I'll show how the sides are glued to the top.

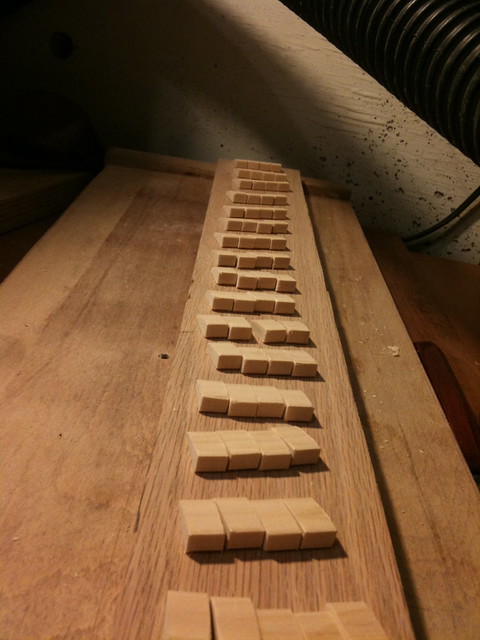
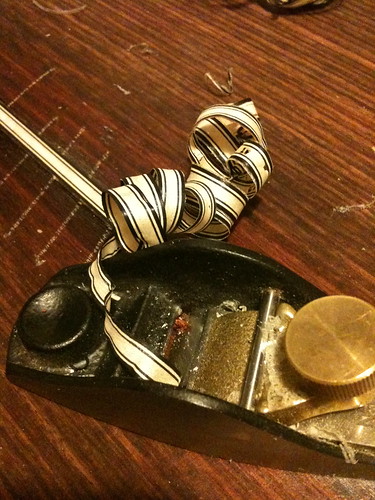
The top and sides are joined by hundreds of individual pieces of spruce. Some guitars use a single strip, with notches cut to allow the 'kerfing' to bend presumably to save time. This was one of the slowest operations in the entire construction. A lot o time was spent between cutting the spruce strips to size, shaping the rounded profile, cutting each piece individually and cleaning the rough edges and then individually gluing each of the hundreds of pieces into place.

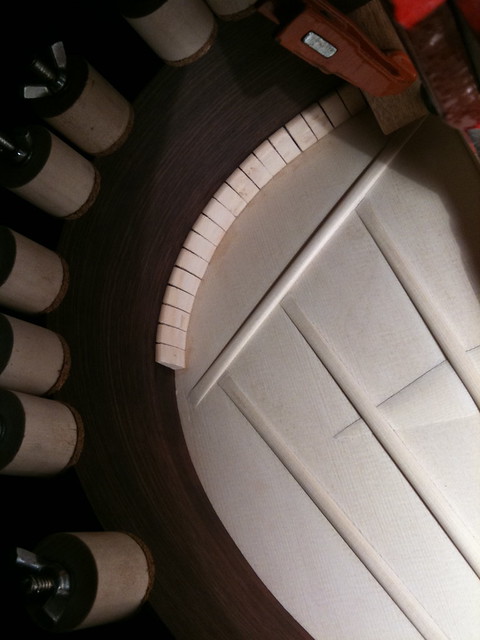
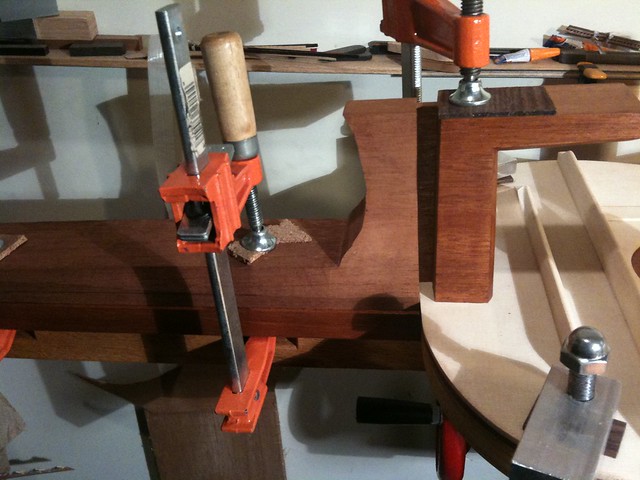
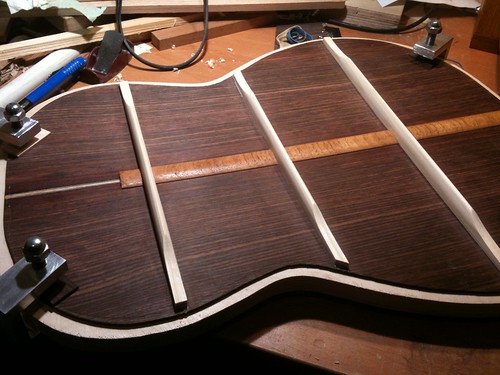
First the sides were clamped into place with spool clamps that I made myself. The DIY spool clamps worked out at about a quarter of the cost of the similar clamps offered by Stewart Macdonald. They are made of threaded rod, with two pieces of cork-faced dowel and a wing-nut.

In this photo you can see the clamps holding the side to the base of the solera. You can also see I have started to test fit the spruce pieces, to see how many will be needed for each section.

Once the spacing was figured out (although I'll admit I ended up accidentally deviating from the plan during the gluing process). Each piece was glued with PVA glue, and held in place for a few moments until dry.

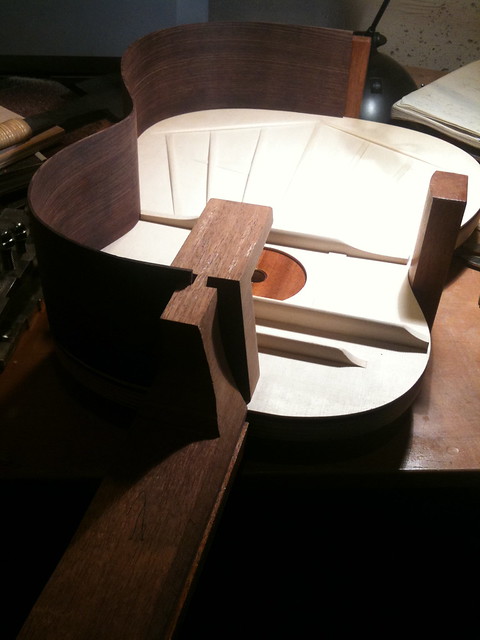
The sides are firmly held in place by the spool clamps, the heel and the end block.
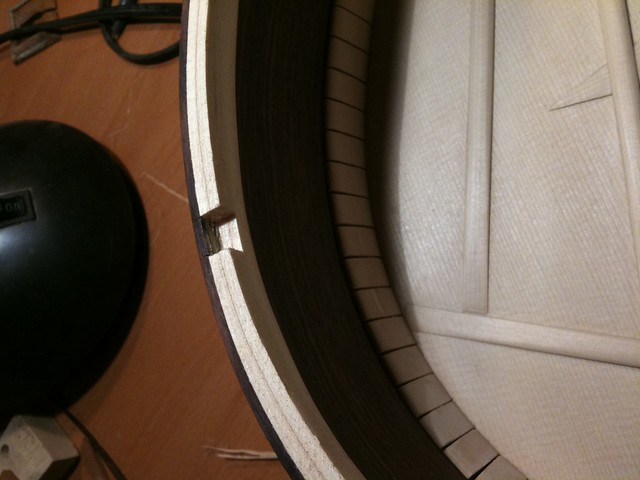
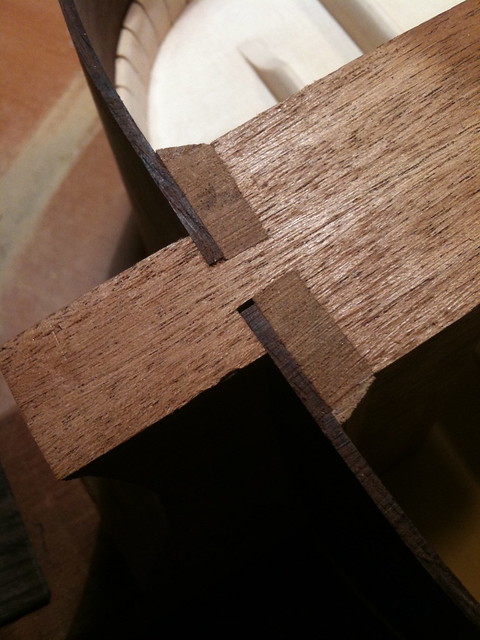
Here is a close-up of the final result. The spruce rests up closely against the rosewood sides, and holds the top firmly. I don't think the pieces need to be so close together here, but it doesn't seem to have caused any problems in the finished instrument.

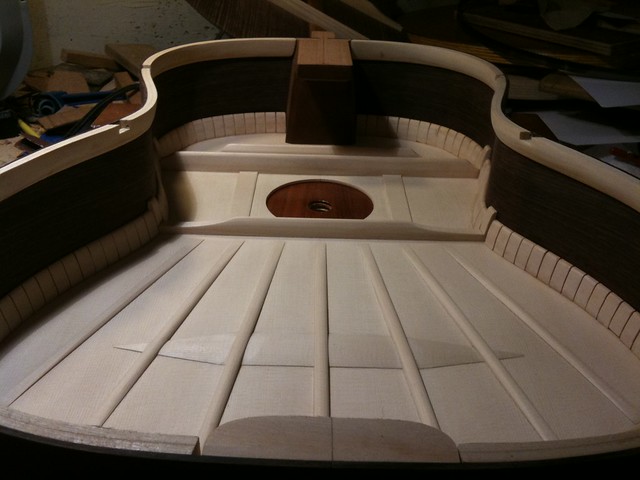
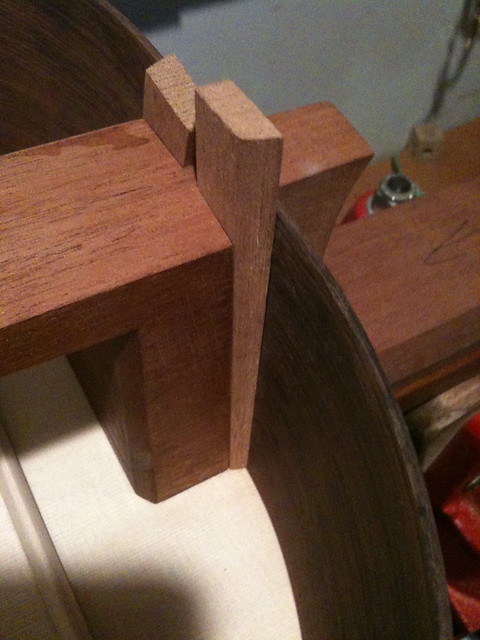
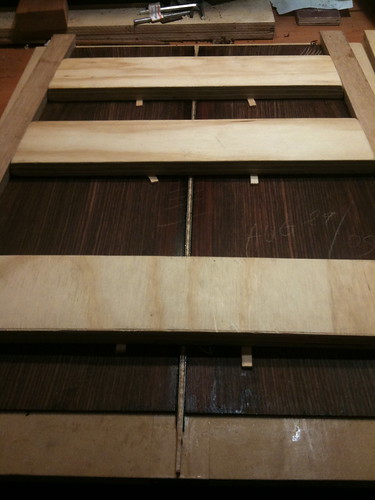
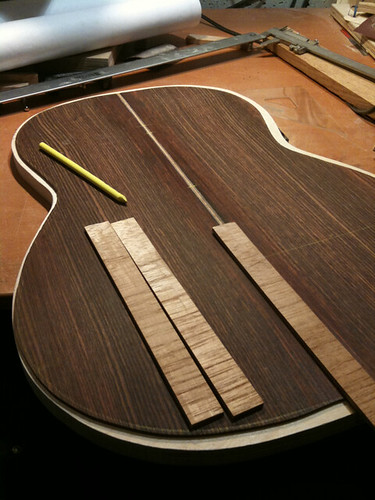
Once the top and sides are firmly glued, I moved on to working on the back lining. The back lining is made from the same spruce material as the top pieces, but is solid. Two strips are cut and bent for each side, before being laminated together. This is done as bending a piece this think is tricky. Once the two pieces have been laminated, they are cut to the correct profile, and glued onto the sides. The sides have been trimmed to the correct height and back profile at this stage.
The final step is to cut notches for the back braces to sit into. These need to be precisely cut as they are very visible through the soundhole of the guitar. They also act as alignment guides when gluing the back.

The back is glued in place using the same spool clamps.

I really love this photo as it shows how beautiful the inside of a guitar can be. 

Wednesday, November 23, 2011

The spanish heel

There are a few types of guitar neck joint. The two traditional ones are the dovetail and spanish heel which are common for steel string guitars and classical guitars respectively. Since this is a reasonably faithful homage to Hauser's classical guitars, it has a spanish heel. Unlike the dovetail, where the neck and body are separate, the spanish heel effectively joins the neck, top and sides permanently. As previously seen, there are two slots cut into both sides of the heel, in which the sides are held captive. In this photo the heel is being glued to the top.

The top and neck have been aligned exactly prior to this, with registration pins ensuring that they do not move during gluing. If the top was not correctly aligned with the centre of the neck, the bridge would need to be glued away from the centre line of the top (which would look weird).

Once the heel and the top are glued, the sides can be cut to size. One side is cut to fit into the slanted slot at the heel, and after being precisely clamped to the top's perimeter, the end is trimmed to the centre line. There is a little margin for error here, because the end block will have an end graft hiding the butt-joint, but it's still important to get it close, or the shape of the guitar will be subtly changed.

After both sides have been cut to length, the wedges can be cut. In some spanish heel designs, the slots have parallel sides. In this case a pair of wedges is used. Because of the neck slot cutting jig shown earlier, the slots on this heel are already tapered, so a single wedge can be used. The mahogany wedges are trimmed and tweaked until a very close fit is established. I would have trusted these wedges without any glue at all, but I put some in anyway just to be safe!

After the glue is dry, the wedges are trimmed down to the surface of the foot. You can see just how close the fit is. Those wedges will hold the sides until the end of time. If you look closely you can also see the subject of the next post, which shows how the top and sides are held together.

This stage of the build really shows the beauty of the traditional solera building jig. The open sides of the jig allow easy access to the entire guitar during the alignment of the sides, the jig doesn't need to provide much support, because the guitar itself provides most of the rigidity needed once the sides are held captive by the neck.

Sunday, November 20, 2011

The back

I need to get my skates on and finish the documentation for this guitar. It's been finished for months, but this blog is only halfway through!


First the two bookmatched pieces of rosewood were glued together in a wedged gluing jig. The jig has tapered rails with overhanging edges that allow the centre spars to be wedged in tightly. The further forward in the jig they are, the tighter they press down on the joint. Waxed tape is places below the glue-line to prevent it from sticking.


After the glue has dried the oversized centre strip is cleaned up. This photo shows a nice shaving of the central flamed maple strip and the 3-layer veneer sandwich on either side. Not all guitars have centre strips, but Hauser style guitars are known for bold and simple lines like this.


After the back has been cut to shape, reinforcement is glued to the centre strip. This can be mahogany, or in this case spanish cedar. Cross grain strips are used to compliment the long grain running along the back. This helps prevent cracking, and ensures extra strength.
Both the centre reinforcement, and the back braces are glued in the go-bar deck like the top braces. The main difference here is that the back is resting in a specially dished jig which provides the curve or 'bombado' for the back.


After the back braces are glued they are shaped similarly to the top braces. The back braces are much taller than the top braces however. In this photo you can also see that a thin layer of shellac has been applied to the central cedar strips. Also note the blank area where the foot of the heel will be glued.