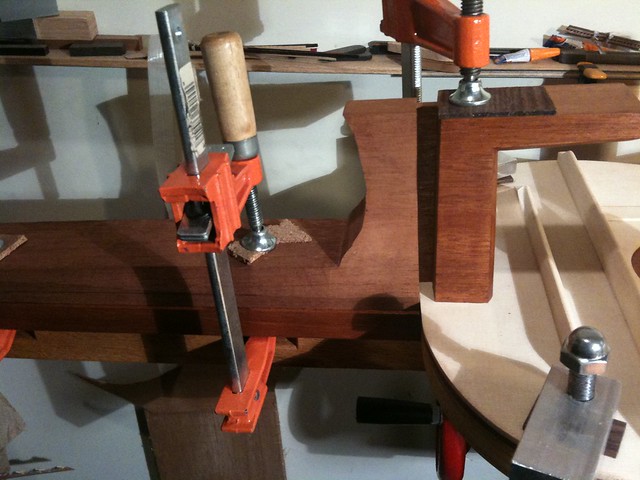
There are a few types of guitar neck joint. The two traditional ones are the dovetail and spanish heel which are common for steel string guitars and classical guitars respectively. Since this is a reasonably faithful homage to Hauser's classical guitars, it has a spanish heel. Unlike the dovetail, where the neck and body are separate, the spanish heel effectively joins the neck, top and sides permanently. As previously seen, there are two slots cut into both sides of the heel, in which the sides are held captive. In this photo the heel is being glued to the top.
The top and neck have been aligned exactly prior to this, with registration pins ensuring that they do not move during gluing. If the top was not correctly aligned with the centre of the neck, the bridge would need to be glued away from the centre line of the top (which would look weird).
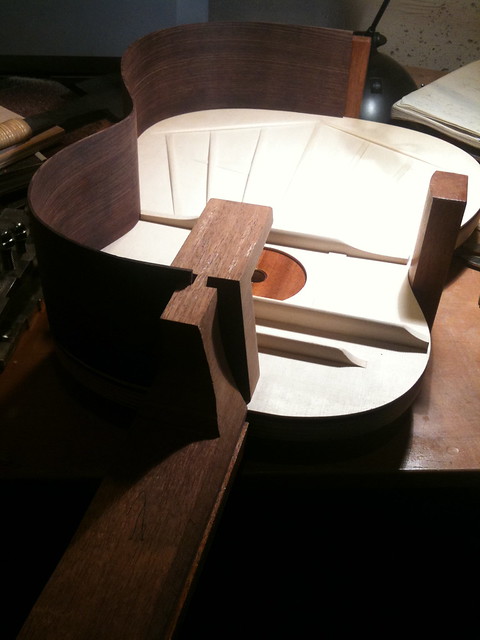
Once the heel and the top are glued, the sides can be cut to size. One side is cut to fit into the slanted slot at the heel, and after being precisely clamped to the top's perimeter, the end is trimmed to the centre line. There is a little margin for error here, because the end block will have an end graft hiding the butt-joint, but it's still important to get it close, or the shape of the guitar will be subtly changed.
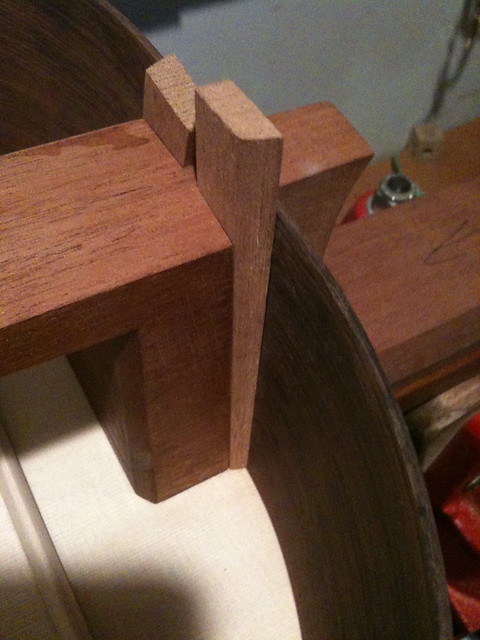
After both sides have been cut to length, the wedges can be cut. In some spanish heel designs, the slots have parallel sides. In this case a pair of wedges is used. Because of the neck slot cutting jig shown earlier, the slots on this heel are already tapered, so a single wedge can be used. The mahogany wedges are trimmed and tweaked until a very close fit is established. I would have trusted these wedges without any glue at all, but I put some in anyway just to be safe!
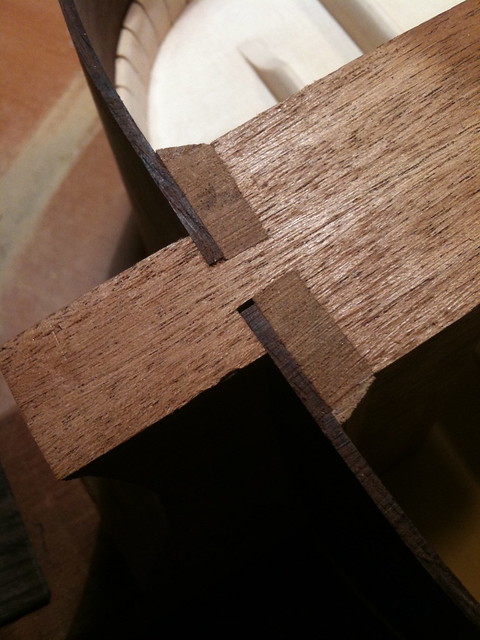
After the glue is dry, the wedges are trimmed down to the surface of the foot. You can see just how close the fit is. Those wedges will hold the sides until the end of time. If you look closely you can also see the subject of the next post, which shows how the top and sides are held together.
This stage of the build really shows the beauty of the traditional solera building jig. The open sides of the jig allow easy access to the entire guitar during the alignment of the sides, the jig doesn't need to provide much support, because the guitar itself provides most of the rigidity needed once the sides are held captive by the neck.
do you have a picture or any other info you can share about the heel cutting jig?
ReplyDelete